
Create 3D product images for your eCommerce store
2020-09-08 - By Shadi Taleb
A summary of how to create or source a 3D model. This post includes tips and links to support pages on how to create your own or how to authenticate one that has been created for you.
This is a guide on how you can upgrade from static 2D product imagery to the world of 3D!
It’s actually cheaper and easier to add 3D product images to your online store. than you think. And they can be more cost effective than arranging a photoshoot. Not only are they cost-effective, they are extremely versatile. Many of our customers have then used them in their video production by just dropping it into the video editor’s timeline. Others have used them to create a metaverse 3D experience which showcases their products. Mass-adoption of AR and VR are just around the corner, so they are a core creative assets that all forward-thinking retail brands should already been investing in!
How we can help
If you require any assistance or clarification with these instructions contact our team. Our customization tech platform is entirely built around 3D products, so we’re very familiar with the best 3D file formats.
This includes the pros and cons of each file format. Not all will allow you to produce a hyper-realistic, fast-loading 3D model that integrates into your eCommerce store. There’s lots of trade-off depending on what you want to use them for.
If you already have one, simply upload it to the asset area.
Here’s some of the quickest ways to get a 3D model made of your product for Shopify and other eCommerce platforms.
Step 1: Install our app
Step 2: Search Public 3D Assets in Spiff Hub
Step 3: Request for a Bespoke 3D model to be made
Step 4: Check the quality of the model
Step 5: Attach the model to the product
Step 1 : Install the Spiff 3D Product Customiser app
- Search for our app in the Shopify App Store or Woo Commerce App Store
- Review the details, then click Install app.
- Once installed you will be prompted to book a meeting to start your personalisation journey.
Step 2: Find and export existing 3D design files
If you have a close relationship with the manufacturing or design side of the business, someone might have access to a CAD file (or other 3D design file). Often these design files can be modified into another file type that is more compatible with use within a web-browser. This will save a lot of time because a 3D model won’t need to be created from scratch. This is the fastest way to get a 3D product model created for your product.
In short, you need to export a small file that we can import into Blender and modify. CAD and other industrial design programs do not support ‘UV Mapping’. We need to add UV mapping to the model before it’s ready for digital visualization purposes.
Alternatively, if you are already using a 3D software program like Blender, follow these 3D file export instructions so you can export a glb file in the correct format.
Step 3: Request a bespoke 3D model
Assuming you don’t have a 3D design file already, you’ll need to create one. There’s five main ways you can do this:
- Hire a 3D design agency who has expertise in file formats which are web-friendly
- Hire a freelance 3D Model designer
- Use the Shopify Partner Program to source a registered Shopify 3D designer expert who can create a model and load it into Shopify’s default 3D warehouse product
- Get us to create one for you (this can be discussed in the initial meeting)
- If your product is quite generic you might be able to find a suitable model on 3D asset marketplaces like Sketchfab, CG Trader, Turbosquid etc (note the quality and suitability of these models vary greatly so you need to know a reasonable amount of technical knowledge to purchase wisely here).
Regardless of who creates the model for you, this is what you need to supply them before they start.
High-resolution Product Photos
3D modellers use powerful software programs to create 3D models from real product photos. This is the most popular method for creating 3D models. When taking photos of your product, please follow these guidelines:
- Make sure that your product is well lit with light and not sitting in shadows.
- Make sure that your whole product is in focus – not the background.
- Some of the newer cameras on phone are good, but if possible, don’t use a cellphone camera. For large products like furniture, use a camera with a 50 mm lens because we need to see the detail. For small to medium-size products, use a 70 mm or 100 mm lens.
- Take extra close-up photos of any unique details or textures. This will give our 3D modelling team a better idea of what they need to recreate, digitally. We can replicate any texture – for example – leather patterns, cotton candy, velvet, metallic surfaces, etc.
- Name the photo files clearly so we know what they are. For example “blue vase – top”, or “blue vase – left” and store them in a clearly labeled folder.
Supply Product Dimensions
The 3D artist needs to know rough product dimensions (or exact dimensions if you have them). This is especially important if you want to use our customization features (labels that get applied to the product or extra elements that modify the base product)
To provide accurate measurements, please follow these guidelines.
- Describe each dimension of your product in clear, simple terms e.g. 15mm – height from the base of the bottle to the start of the cap.
- Provide the measurements in millimeters (mm) – if you are in the US, use Google to convert from inches.
- If the product is complex, it’s helpful to sketch a diagram to show which dimensions the measurements correspond to.
- If you have technical drawings or CAD files associated with your product, include those as well
Step 4: Check the quality of the model
When you receive your 3D model, you should check that you’re happy with its quality. You can view the model via the Spiff app once, you’ve attached the file to the product that it relates to within your Shopify store.
Note: the more detailed and complex your model is, the higher the bandwidth that is needed to render the product via a desktop or mobile browser. If the detail is too high, or complex for the users’ browser or device to handle, they may experience latency issues or a subpar user experience while on your store.
A skilled 3D modeller will be able to compress parts of the 3D file without sacrificing quality.
Check the model from all angles. While reviewing your model, consider:
- Check the general shape of the model to see if it’s like the real product. Proportions are important here.
- If you’re previewing the model in augmented reality (AR), check the scale of the product relative to the surrounding area. It may need to be scaled back or up from its default size.
- Check to see if the surface textures reflect what it looks like in real life. Reflections and lighting effects can be modified reasonably easily and when done right, this really adds that realistic touch. So double-check any transparent and reflective areas so they look right.
- Check the model for any stretched, blurry or distorted areas.
- Sometimes, when the model is too smooth and perfect, it will look unrealistic. So great 3D artists will add little imperfections that give it a lifelike feel. Maybe the model needs some imperfections to be added.
- Check the edges of the product, especially if they are too sharp or too soft.
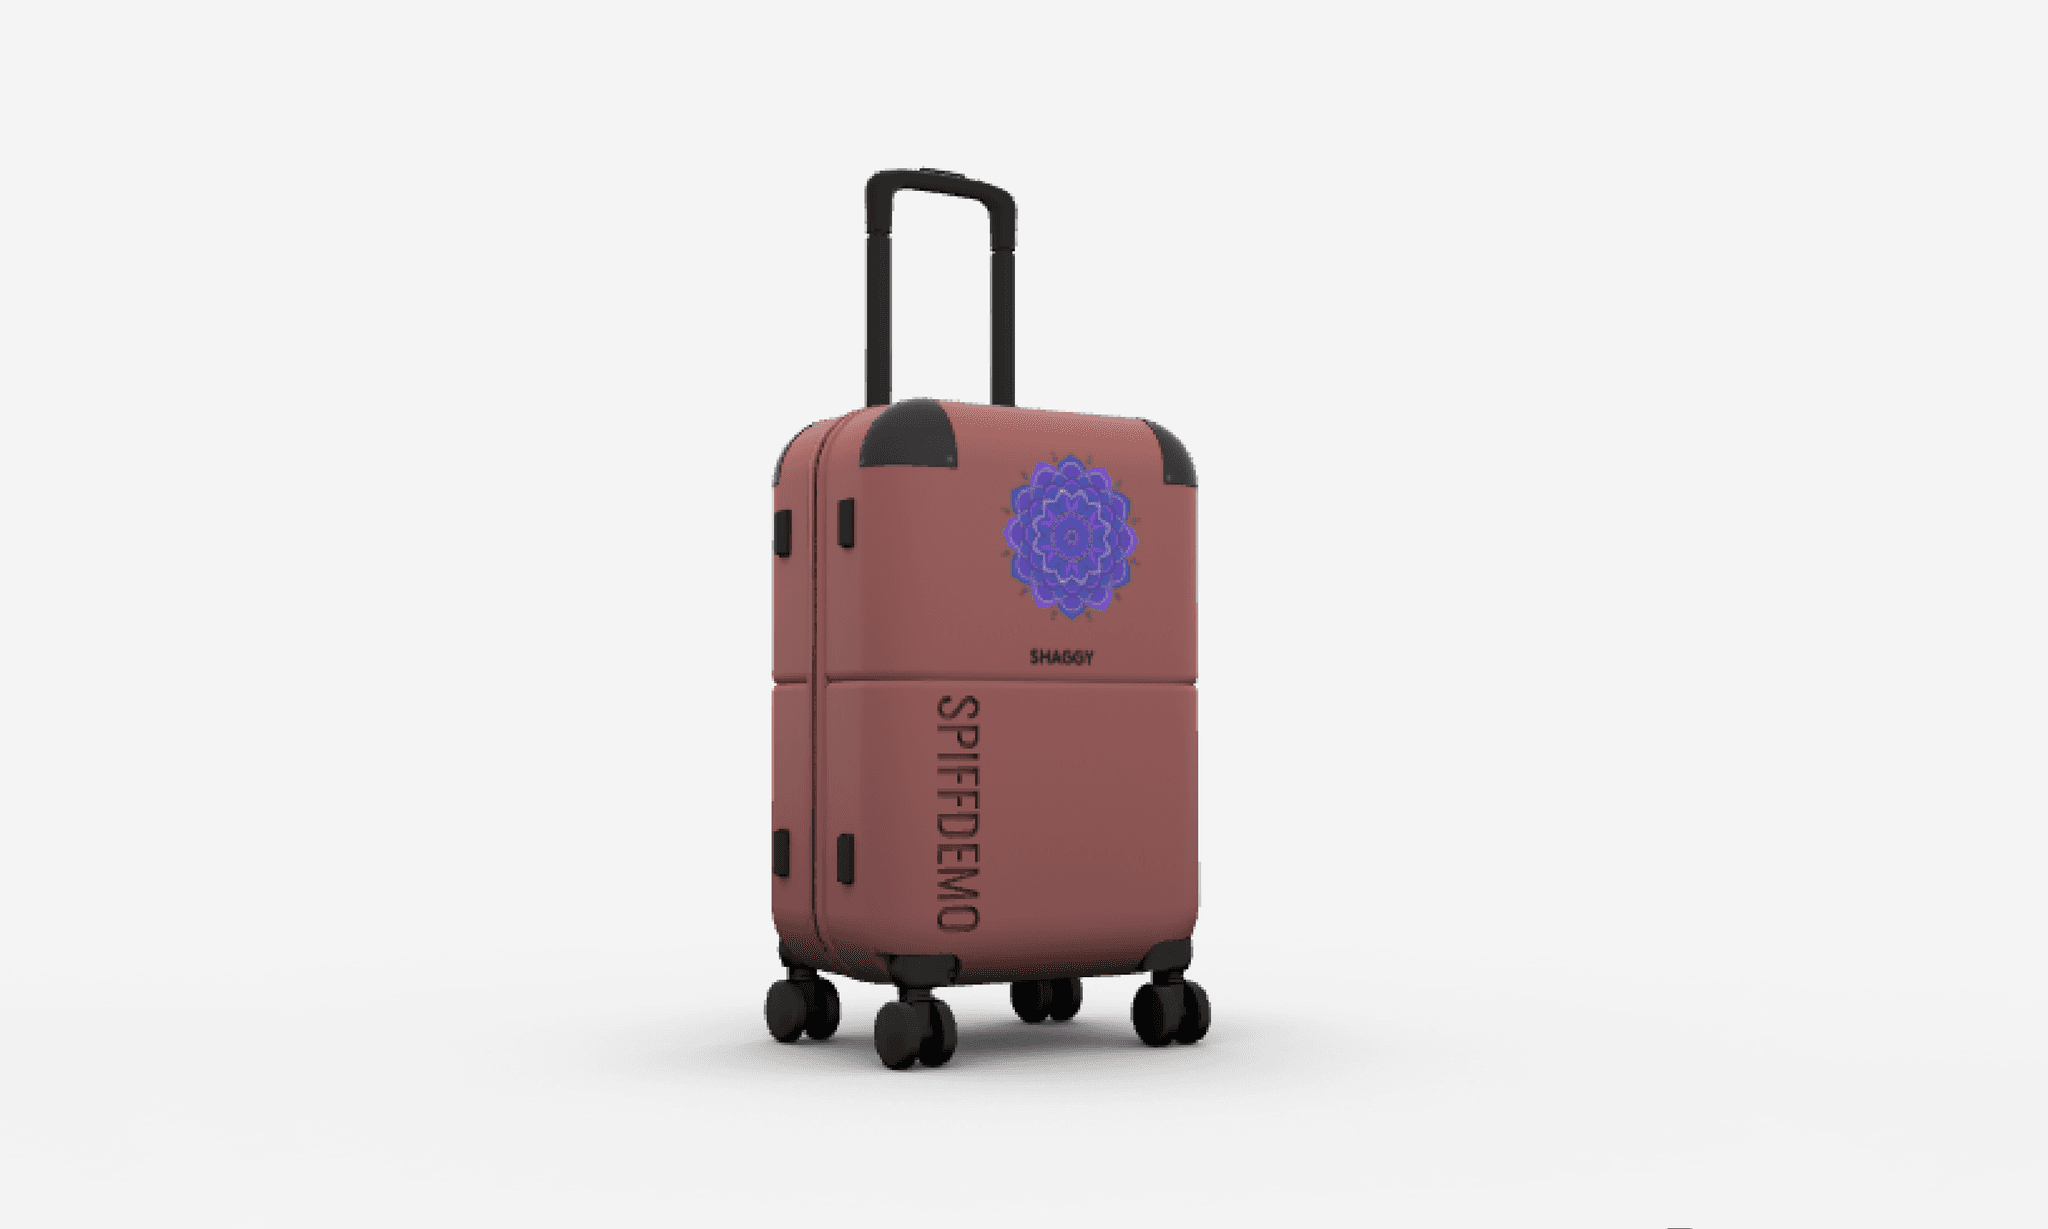
- If there are any decorative details, such as a logo or some text, are they easy to see?
- Are there any gaps or holes where there shouldn’t be any?
If you think that the quality of the model isn’t good enough, then contact the relevant person and explain what is wrong with it. Sometimes, it will take a bit of back and forth before the model looks perfect.
Step 5: Attach the 3D model file to your product
When you have the Spiff app installed (and activated) and have sourced a 3D model, you can then upload your 3D model to be applied to product.
Refer to our QuickStart guide on our support page for details instructions on uploading a model asset and attaching to a product.
How much 3D product models cost
Much like with a website or anything creative, how long is a piece of string? With that said, expect to pay between $80 and $500 USD per 3D product model.
The quickest 3D model we’ve done – Client X – Product = a name plaque – 1hr total
The longest 3D model we’ve done – Client Y – Product = a shoe – 15-24hrs total
The factors that determine the cost, reflect the amount of time it takes the 3D artist to create the model. This time varies significantly from product to product, but the main determinants are:
- Creating realistic textures which are meshed into the model vs just layering a 2D image on top of a base product
- Recreating a real-life color depends on how you texture the surface and how reflectivity (roughness) is set
- If the product consists of many individual parts which need to be individually modeled and then put back together as you would in real life, by assembling a product from a sum of its parts. If it’s just a simple 1 piece product (aluminum can) then modeling doesn’t take as much time as a shoe does which consists of many different layers which all need to be joined together. Stitch lines, shadowing between the layers, different textures, and reflectivity for the different materials, etc – all of this adds to the time.
- Imperfections need to be added so it looks real. If every surface was computer perfect, the human eye spots it as a fake. So good 3D artists add minute imperfections and play with textures or lighting to give it a realistic feel.
- Materials take the longest. This involves adding texture and complementary shadows to make the product look real. For example, creases in a t-shirt. This can be done with things like ambient occlusion, good quality, optimized 3D models can have this ‘baked’ in, so that performance on a mobile isn’t adversely affected.
An example of a hyper-realistic 3D product model
Click on any of these shoe models and zoom in on the product so you can see the quality of the model’s detail. Customize your shoe now!
Here’s an example of how professional 3D artists create digital twins of physical products which look real on your screen.
Spiff Public Assets - 3D models
Inside the SpiffCommerce hub, there is a library of popular 3D models for many different products that you can use.
Alternatively, you can submit a bespoke model to be made for you by emailing support@spiff.com.au